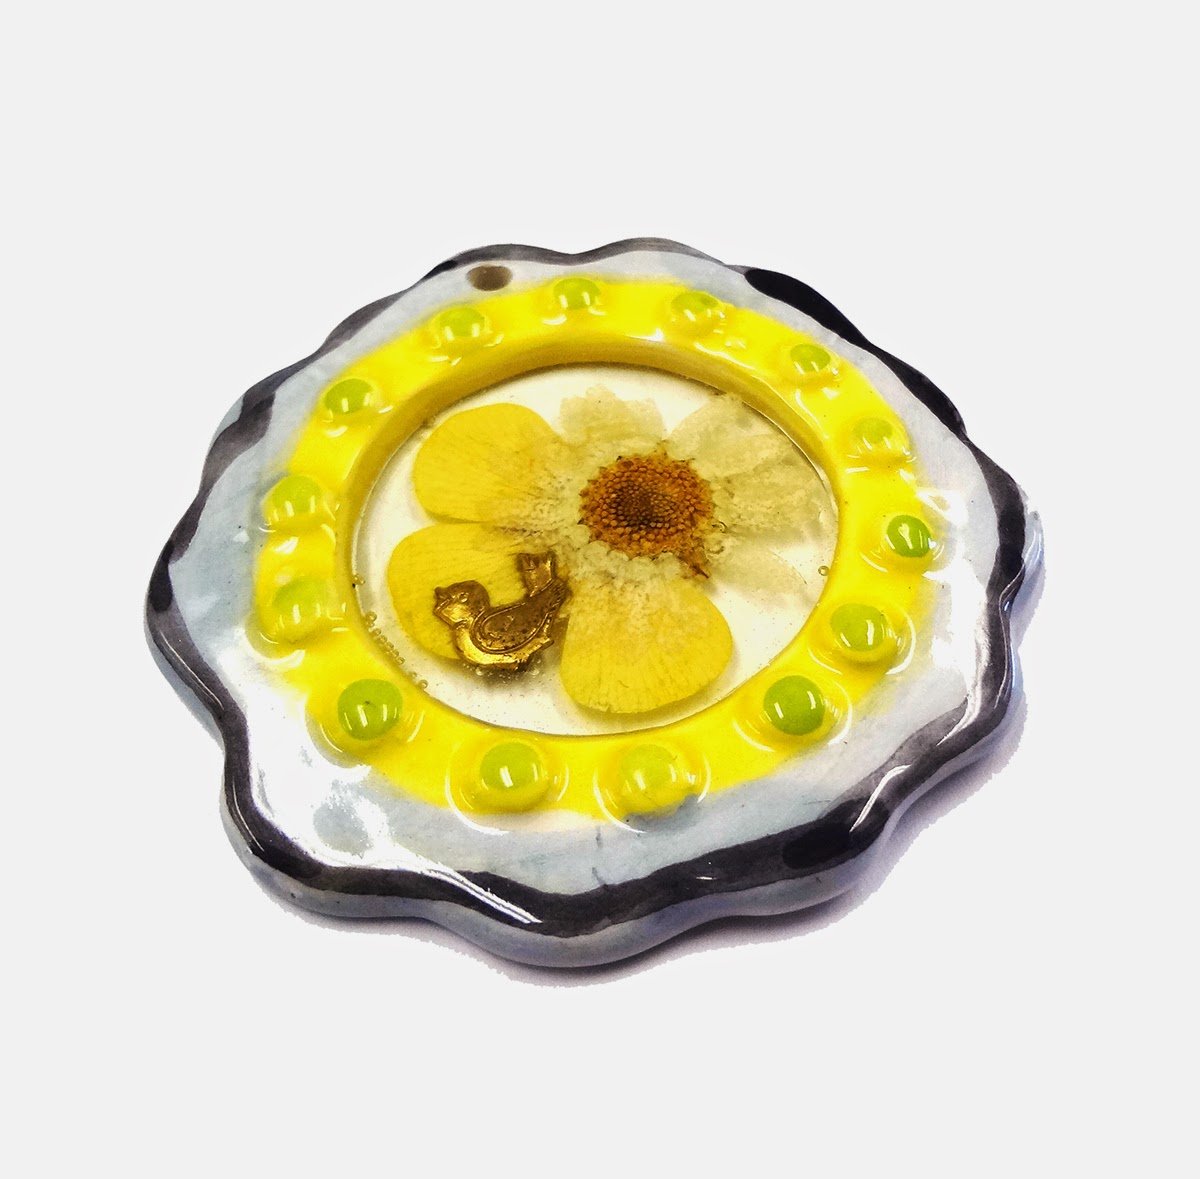
Here is my finished pendant.
My dried flowers appear to be floating in glass now!
Yesterday's post showed you how to make this open backed pendant a bezel you can work in. Part One.
Once my new resin bottom was cured I was able to glue (with a decoupage medium) my dried flowers and charm in place.
It is very important to seal your dried flowers. (If you are new to this blog please review the posts that are tagged "Sealing Paper.") With a paintbrush I covered my flowers with the clear drying decoupage medium.
I always seal everything THREE times allowing each coat to dry before applying the next. With summer humidity, it is important to allow this glue to dry thoroughly overnight before pouring in resin.
Here is the pendant after the sealing coatings of decoupage medium were dry. I wanted you to see how much space (depth) I still have in my now closed back bezel.
The back of the pendant looked gorgeous.
TIP: A glaze coat of Jewelry Resin across the back of the pendant evened everything out and any leftover tape stickiness is now gone. This adds a day to your project but is worth it!
When everything was good and dry I made a small batch of Jewelry Resin.
Jewelry Resin has extra UV protection, so it is ideal for dried flower projects.
This turned out even better than planned!
Labels: Dried Flowers, Envirotex Jewelry Resin, Open Back Bezel, Sealing Paper, Tips